

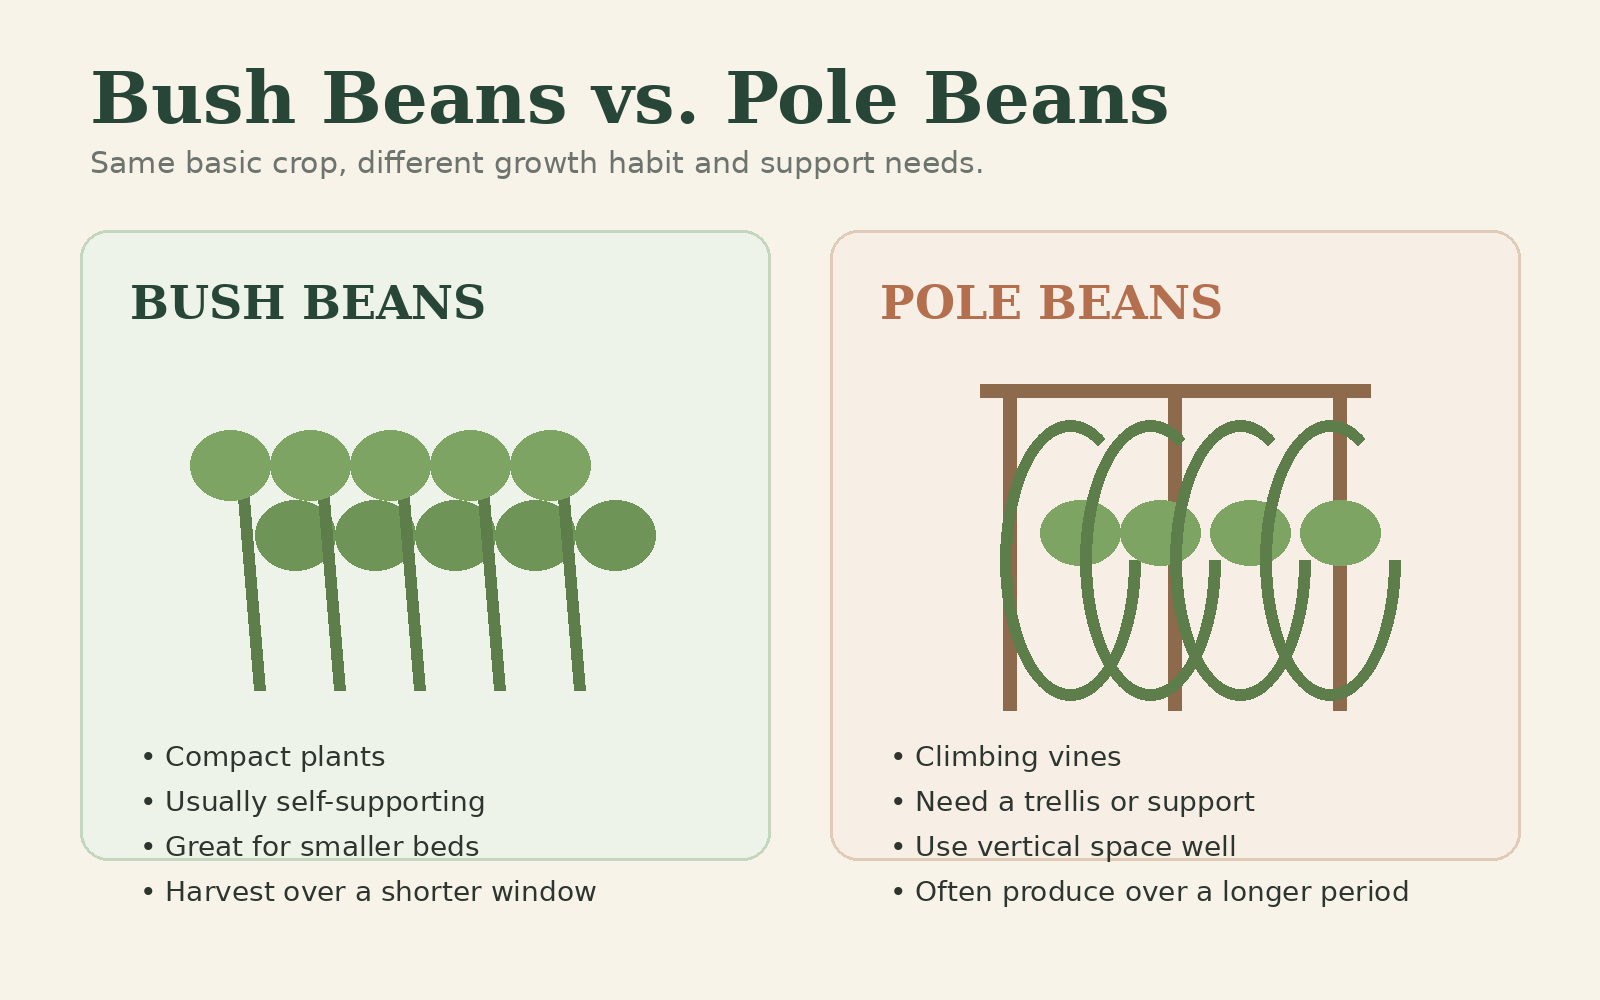
Bush beans and pole beans have a lot in common. They are planted, watered, watched for pests, and harvested in much the same way. The biggest day-to-day difference is how they grow: bush beans stay compact, while pole beans keep climbing and need something sturdy to grow on.
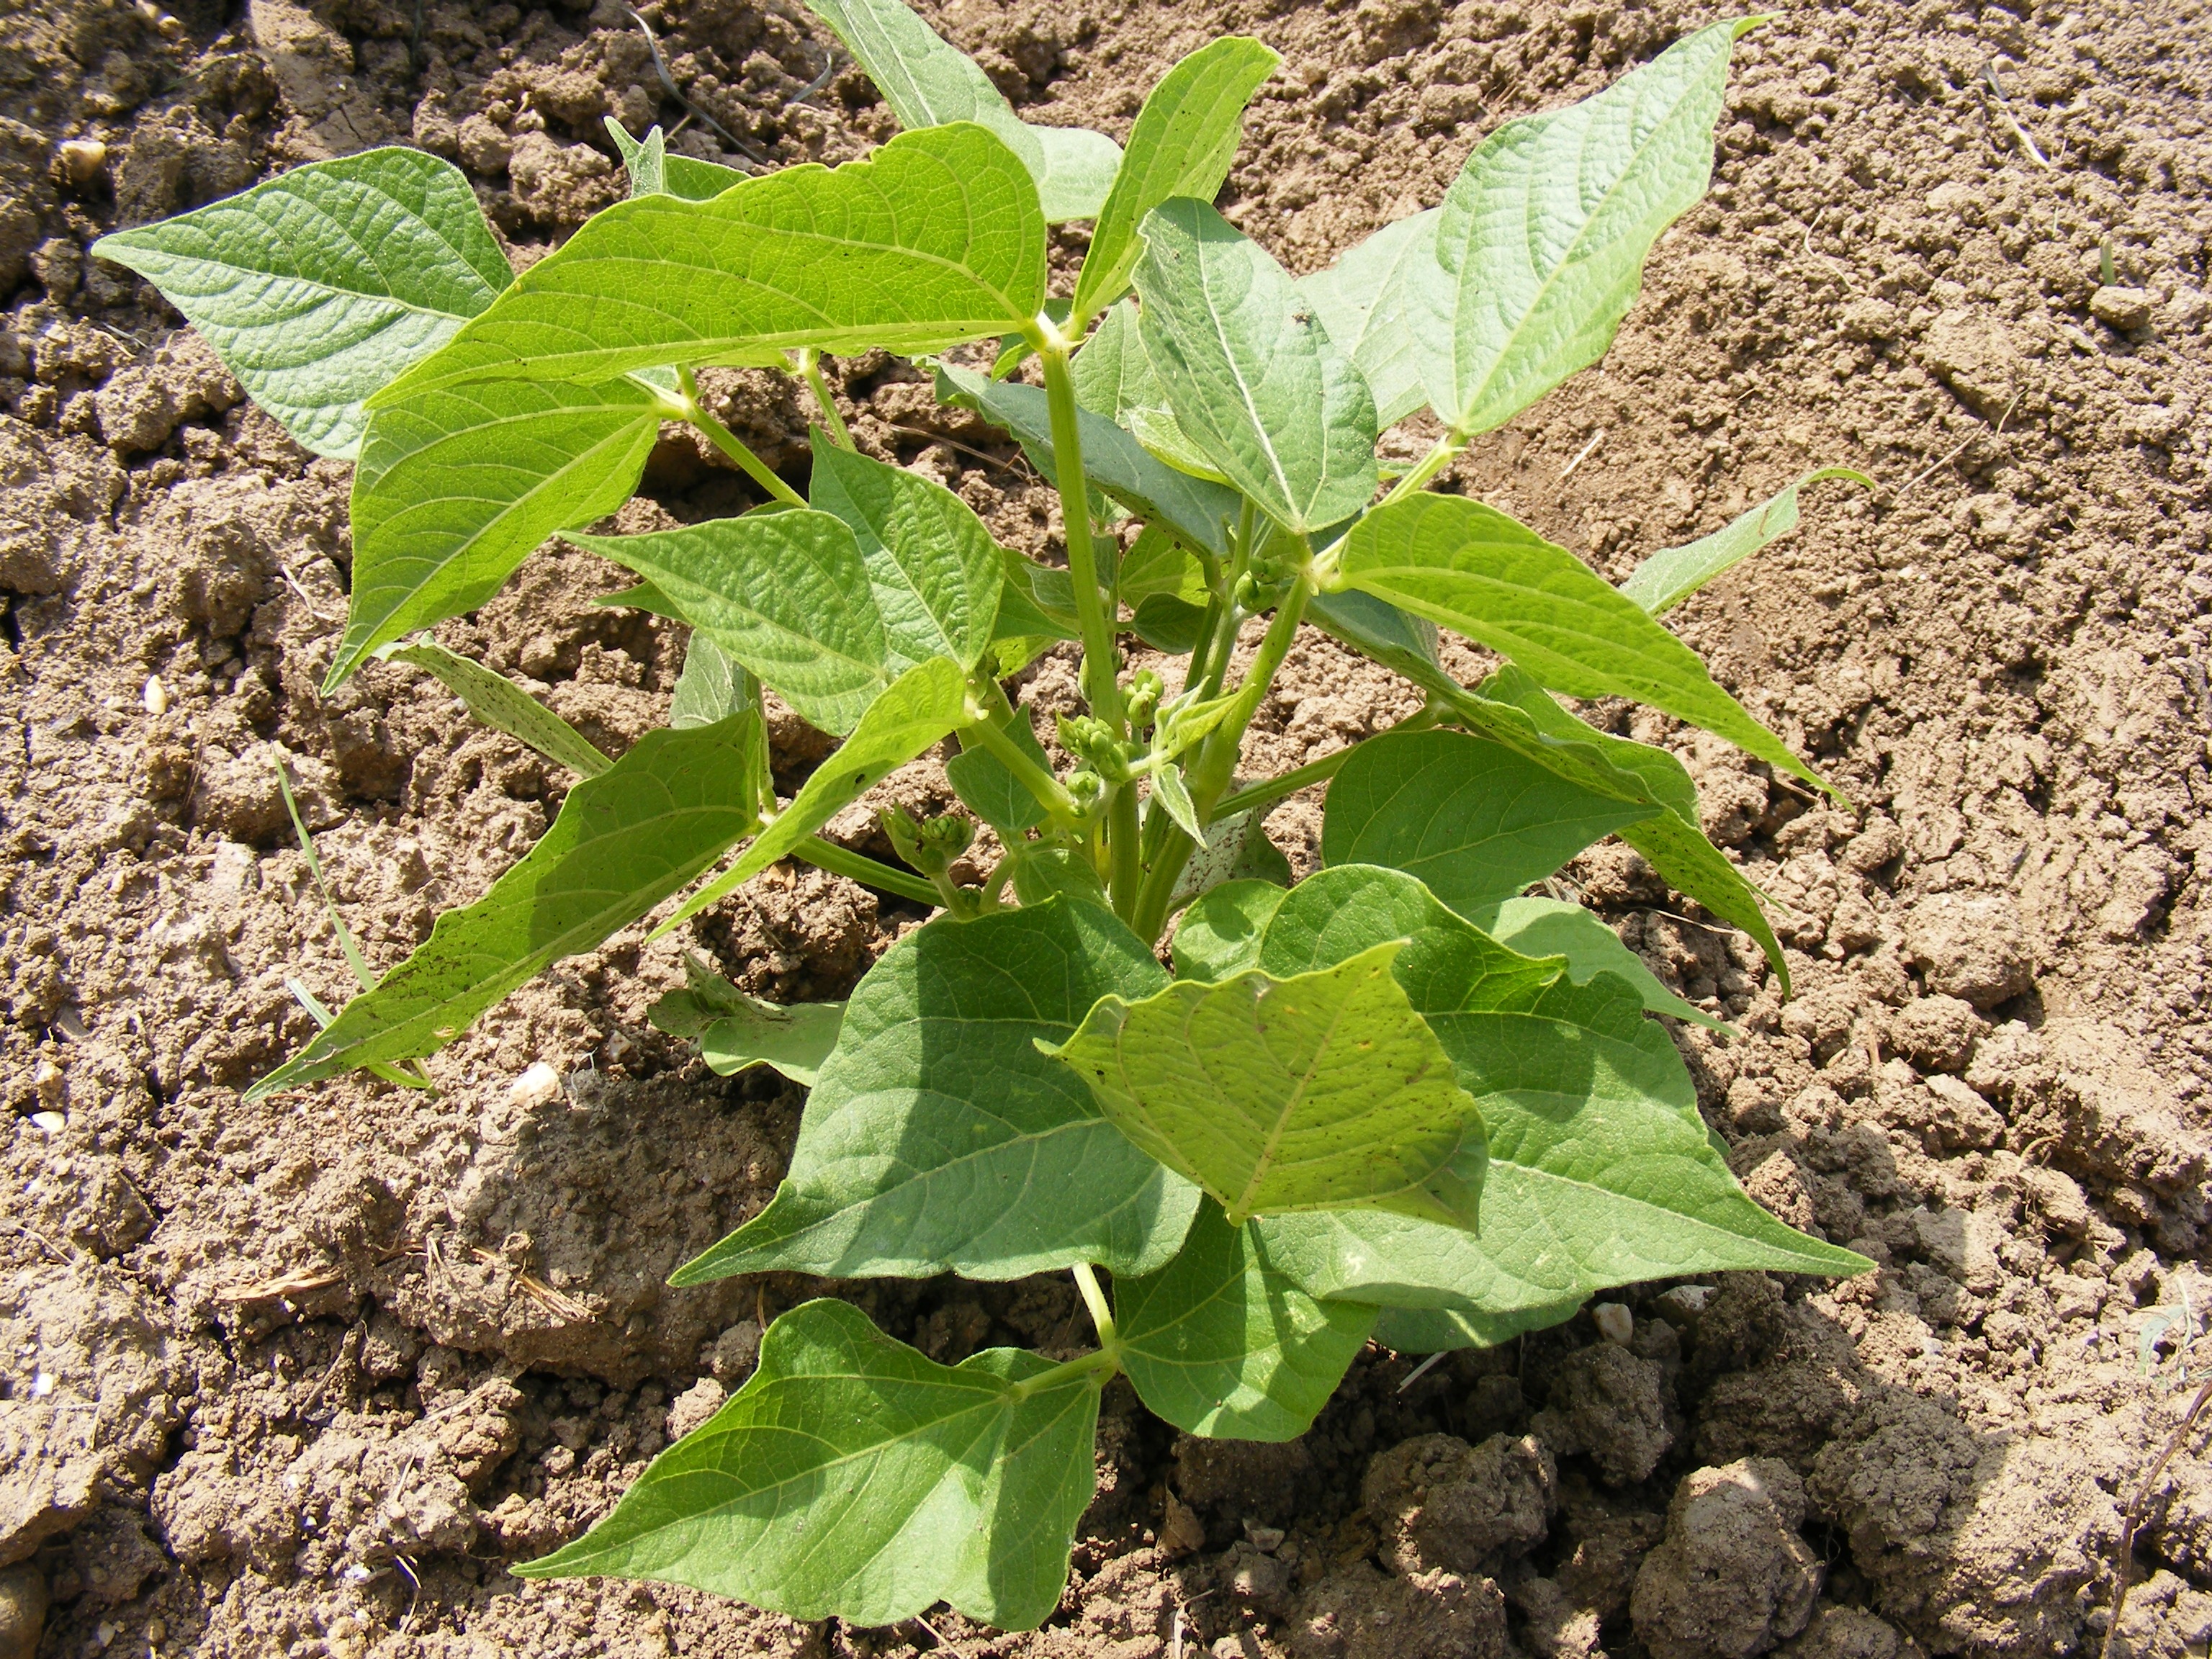
Should you soak bean seeds first?
I have had good luck soaking bean seeds for about 24 hours before planting. Some gardeners swear by warm water, but in my own trials I never noticed a meaningful difference between warm and cool water.
Soaking is optional, not a requirement. It can soften the seed coat and may help get things moving, but beans can also be planted dry straight from the packet.
If you do soak them, do not panic if the water looks cloudy or a little milky afterward. That can happen as the seeds hydrate.
Get the soil ready before planting
Your soil should be moist but not soggy. If you press on it and water squeezes out or puddles, it is too wet.
Beans generally do not need heavy feeding, especially when they are growing in reasonably fertile soil. Too much nitrogen can give you a lot of leaves without necessarily giving you the bean production you want. Compost and good soil preparation are usually a better starting point than piling on fertilizer.
Planting soaked beans
Once a bean has soaked, it is softer than it was in the packet. Instead of pushing it into the soil with your finger, make the hole first with a small stick, dibber, or fingertip and gently set the seed into place.
Use the planting depth on your seed packet as your first reference. As a general rule, beans are not planted especially deep, and it is better to avoid burying them so far that the emerging sprout has to struggle to reach the surface.
You also do not need to obsess over which side of the seed is facing up. In good growing conditions, the seedling will orient itself as it emerges.
Starting beans indoors
If you start beans in seed cells, you can use a humidity dome or loose plastic covering to hold moisture until germination begins. Remove the cover as soon as sprouts appear so you are not trapping too much humidity around the seedlings.
Beans grow quickly, so they usually do not need a long stay indoors. If you do start them inside, move them outside gradually before transplanting them into the garden.
Hardening off
Do not take a bean seedling from indoor light straight into full Texas sun and expect it to be happy about it.
Start with a few hours outdoors in shade or dappled light, then gradually increase both the time outside and the amount of direct sun over roughly a week. The goal is to let the plant adjust to stronger light, wind, and temperature changes before it has to handle all of them at once.
Direct sowing outside
Beans are also excellent candidates for direct sowing. Once they are in the ground, I watch for three things:
What I check first
- Sprouts: because seeing that first green hook come through the soil never gets old.
- Pests: rabbits and other garden visitors can find a seedling before you do.
- Disease or stress: once the plants are up, watch the leaves and stems for anything that looks off.
Bush beans vs. pole beans
Bush beans stay relatively compact and often hold themselves up perfectly well. Some varieties may benefit from a little support when they are heavily loaded with beans, but they do not need the tall structures that pole beans do.
Pole beans are another story. Give them a fence, trellis, arch, teepee, or another upright support they can climb.
Whatever support you choose, make sure you can still reach the vines. Regular harvesting is much easier when you are not fighting your trellis every time you pick beans.
What about fertilizer?
Beans are legumes and can work with nitrogen-fixing bacteria, so they usually are not heavy nitrogen feeders. If your soil is already in decent shape, they may need very little additional fertilizer. Heavy nitrogen feeding can encourage leafy growth at the expense of pod production.
Good soil, compost, and paying attention to the plant are a better approach than fertilizing just because the calendar says to.
The beans I actually grew
I have not grown every bean variety under the sun. The two that made it all the way to harvest for me were Blue Lake green beans and Mitla Black Tepary beans.
That matters because there is a big difference between reading about a crop and actually watching it germinate, grow, get attacked by something, recover, and finally make it into the kitchen.
Harvesting green beans
For beans where you eat the whole pod, harvest them when they reach the size recommended for the variety and while the pods are still tender.
I prefer cutting or snipping them from the plant instead of yanking. Pulling hard on one pod can damage a stem or disturb the rest of the plant.
Once production starts, check the plants regularly. Beans can go from “almost ready” to “how did I miss that giant thing?” remarkably fast.
Harvesting dry beans
Dry beans stay on the plant much longer. Let the pods mature and dry down before shelling them.
Depending on the variety and weather, you may be able to let most of the crop dry on the plant and harvest it together. The important part is making sure the beans themselves are fully dry before long-term storage.